2FA for Gmail
Two-Factor Authentication
Also known as "2FA", it's a quick and easy way to improve the overall security of your Gmail account, by introducing a second factor of authentication when you login. Learn more about 2FA…
In this guide, we will help you enable 2FA for your Gmail account.
Setup Guide for your Gmail
| Step 1. Login to Google using your computer | myaccount.google.com |
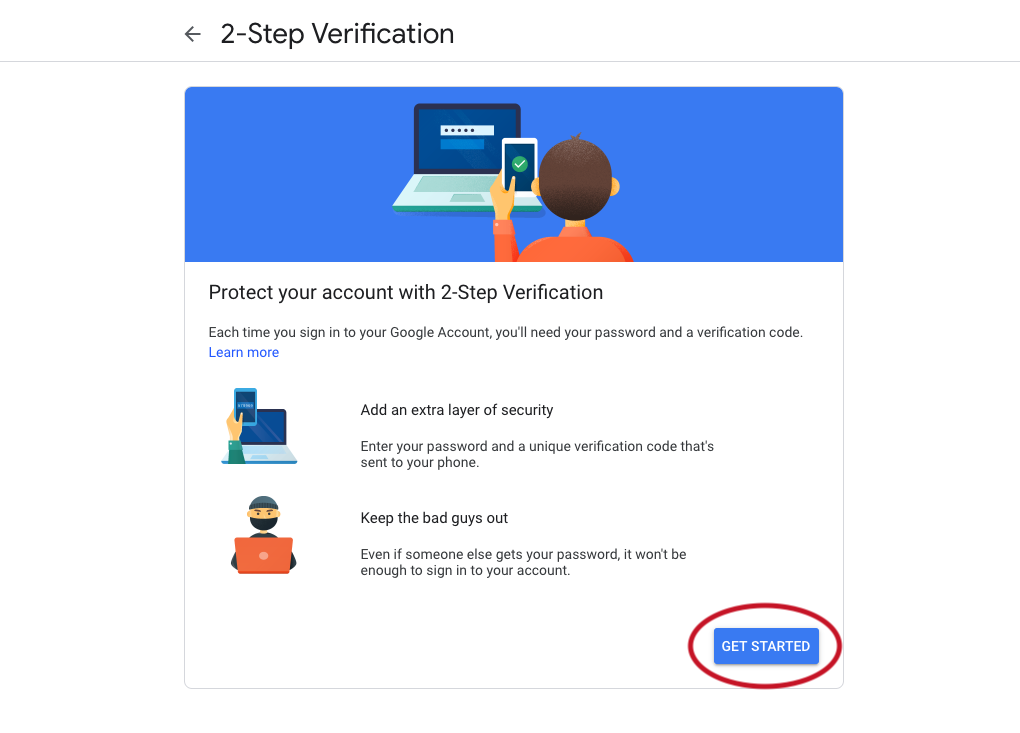
Step 2. Go to Security and click on 2-Step Verification. Then click on Get Started. |
|
  |
|
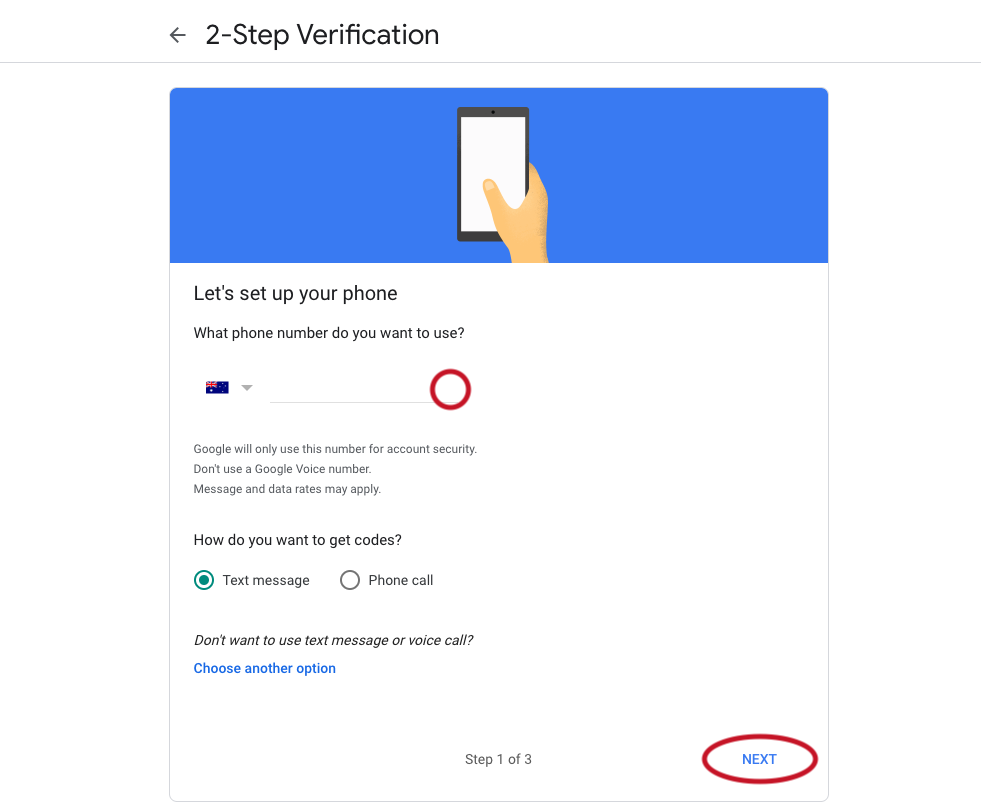
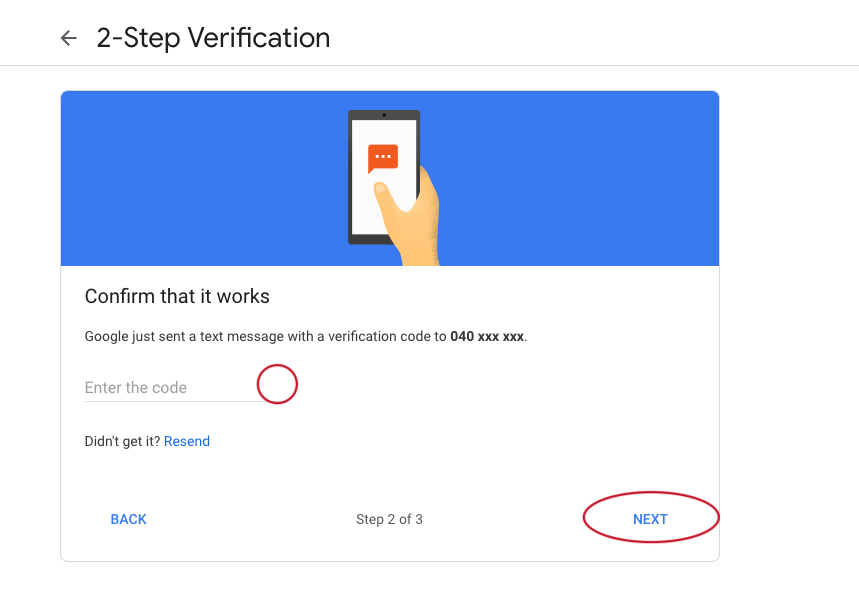
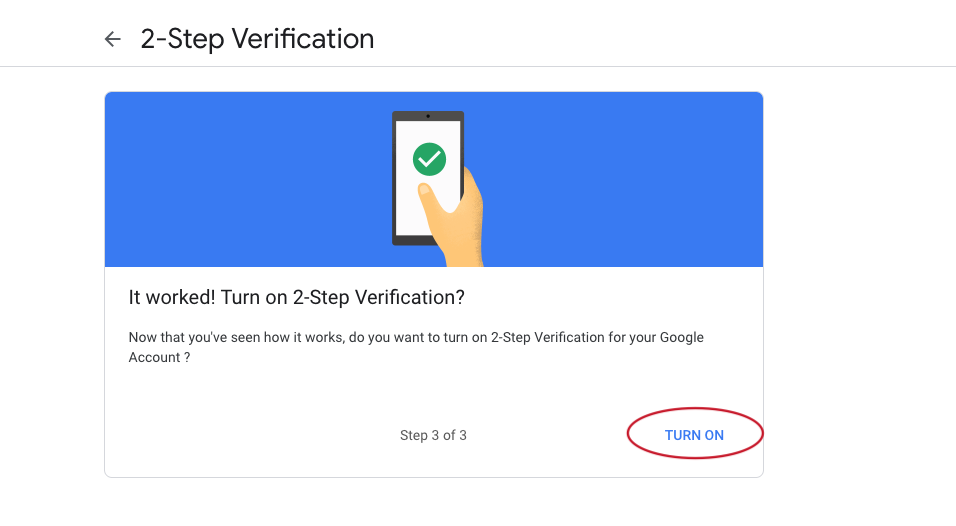
Step 3. Google might ask you to add your Phone Number first, before activating 2FA. If so, follow the instructions on screen. |
|
   |
|
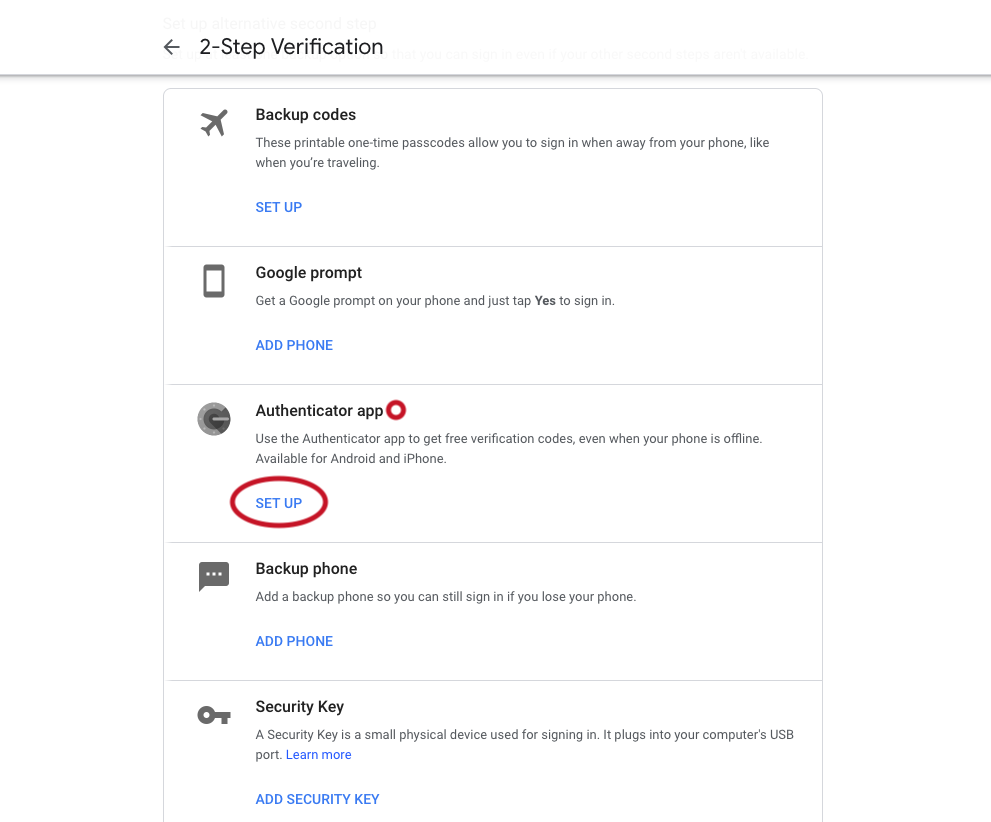
Step 4. Now we can setup the Future Pass app! Find Authenticator app and click SET UP |
|
 |
|
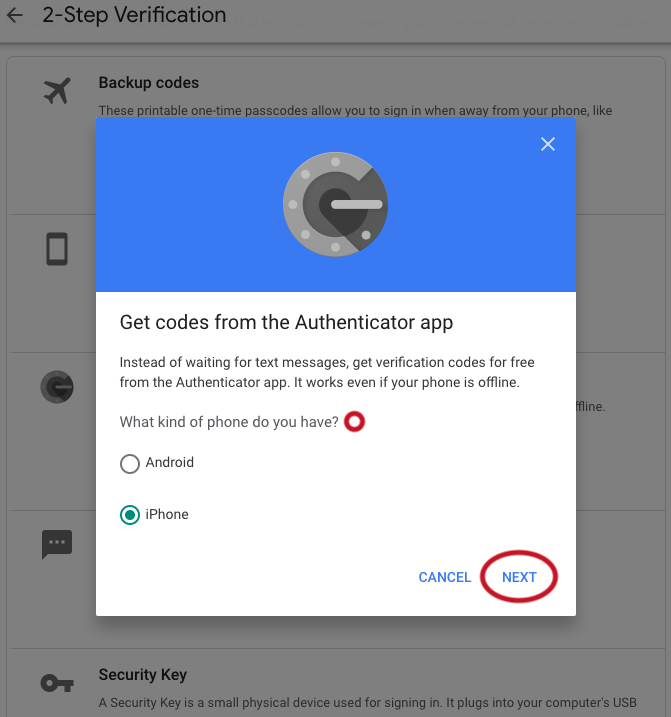
Step 5. Select your phone from the list, and click NEXT. Next, we're going to scan the QRCode with Future Pass. |
|
 |
 |
Step 6. Open the Future Pass app and Tap the Add button at the top right |
|
 |
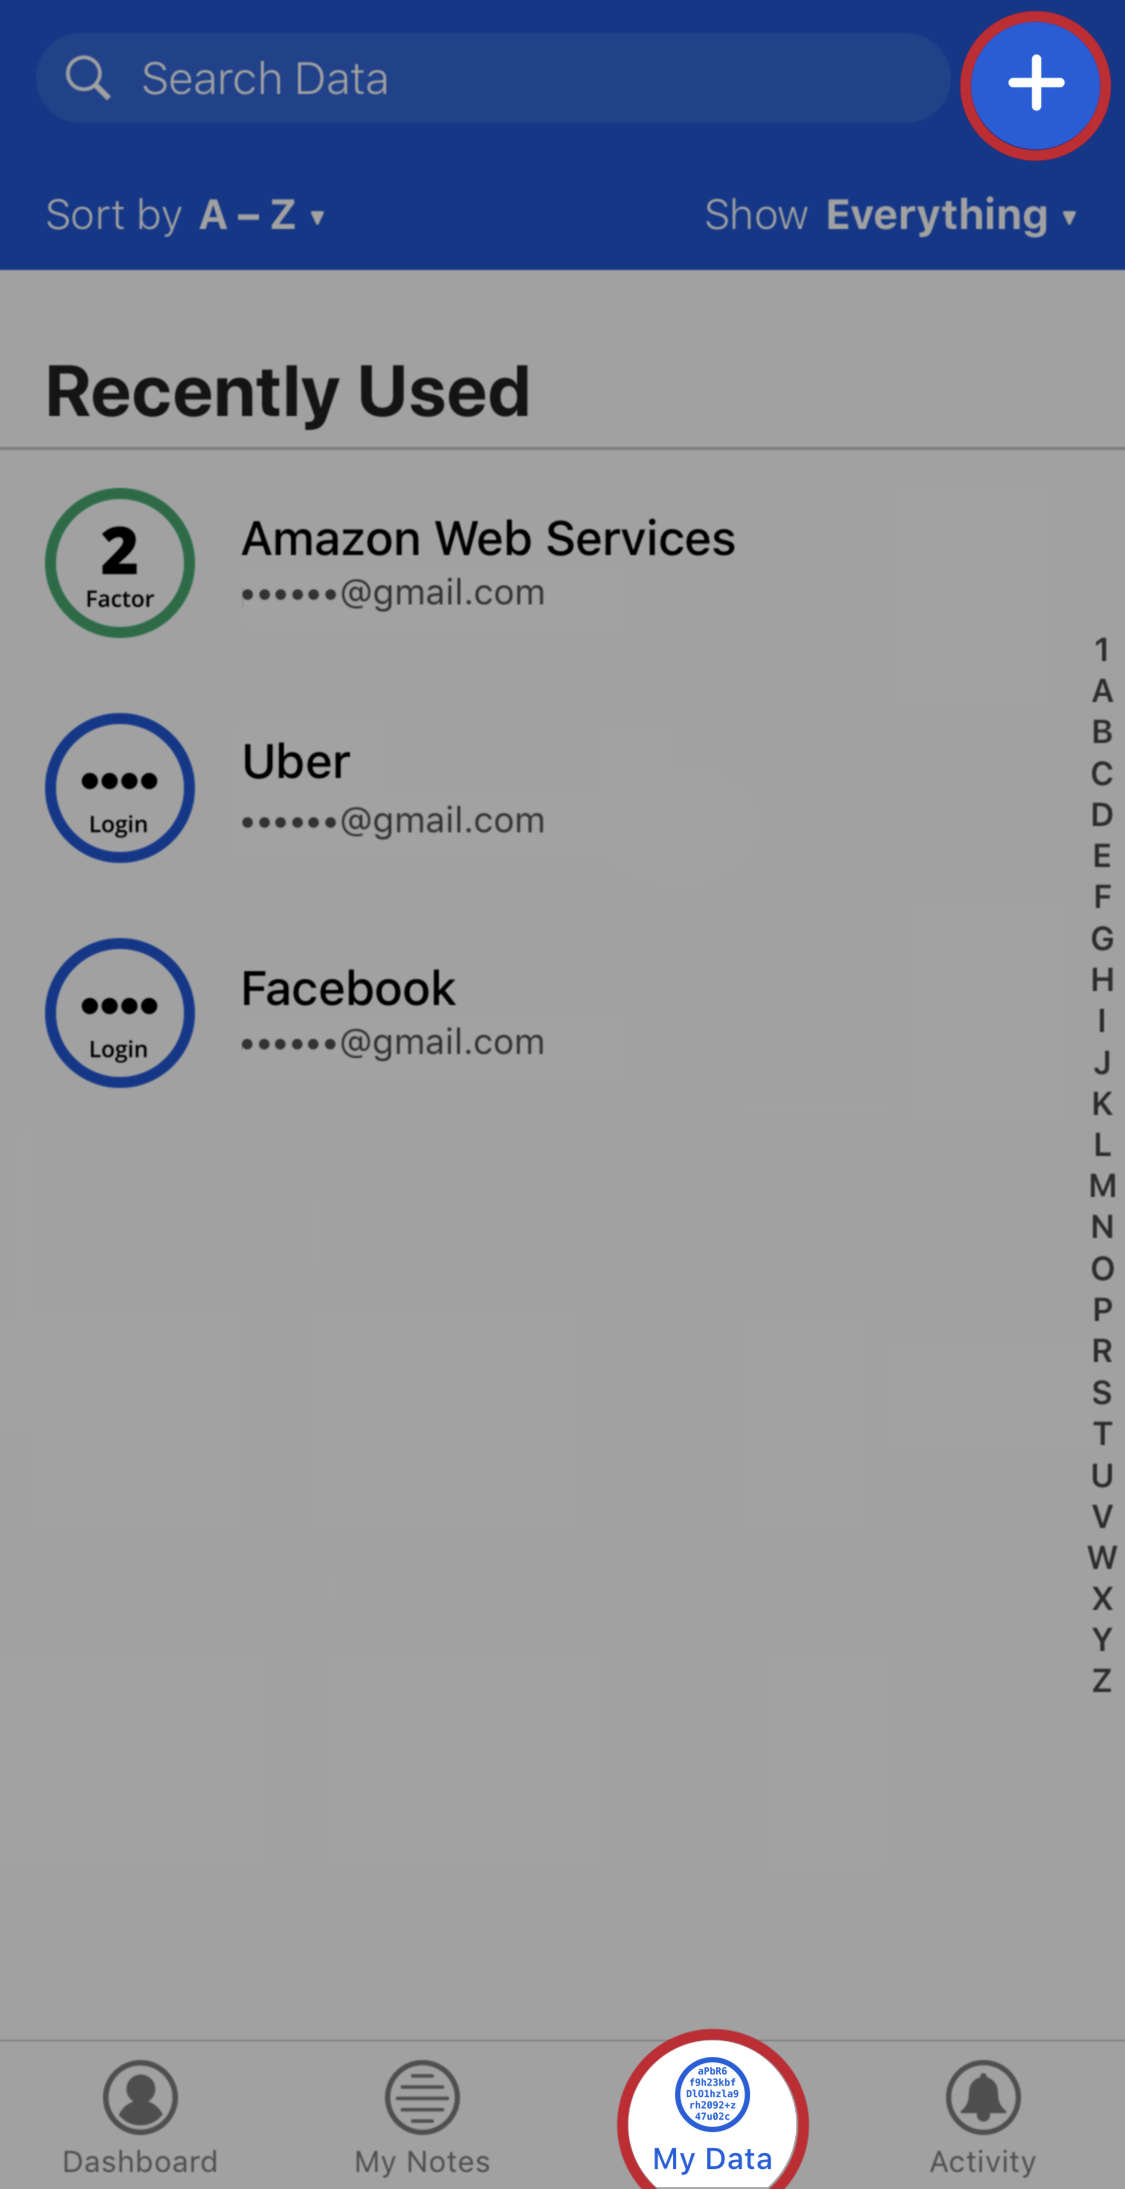 |
Step 7. Select Authenticator Codes from the list, and select the Scan Barcode option |
|
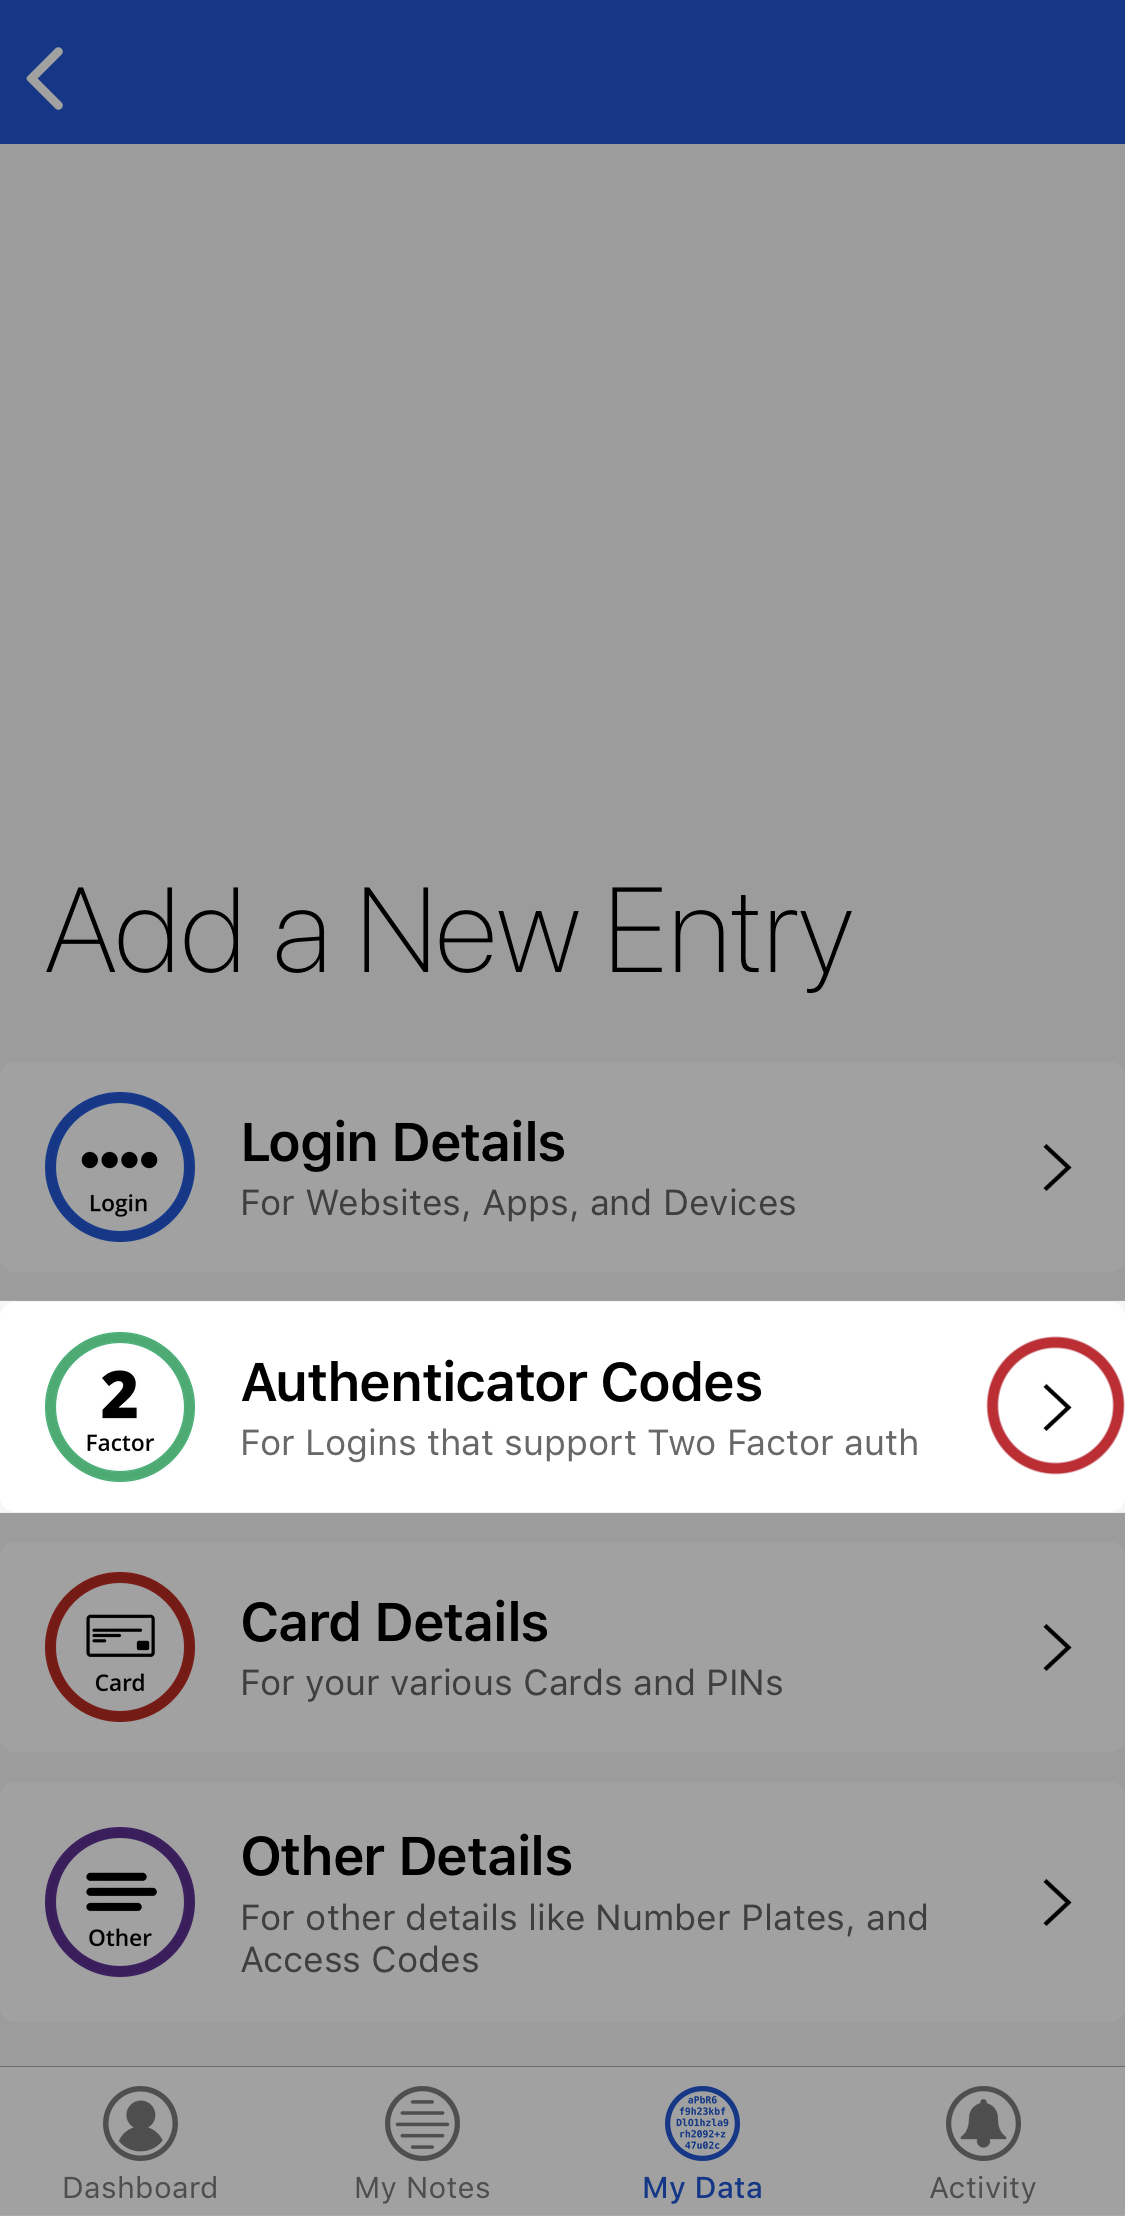 |
 |
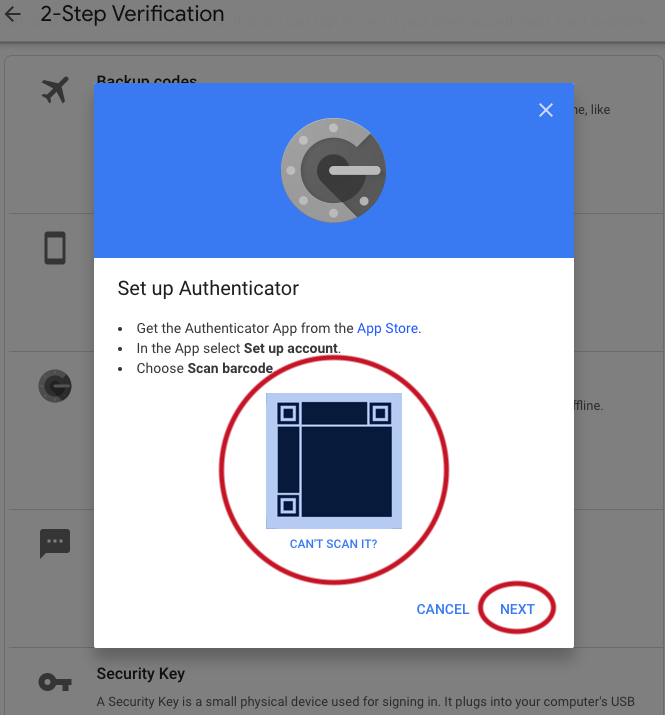
Step 8. Hold your phone up to your computer screen and scan the QR Code from Step 4. Then tap the Save button. |
|
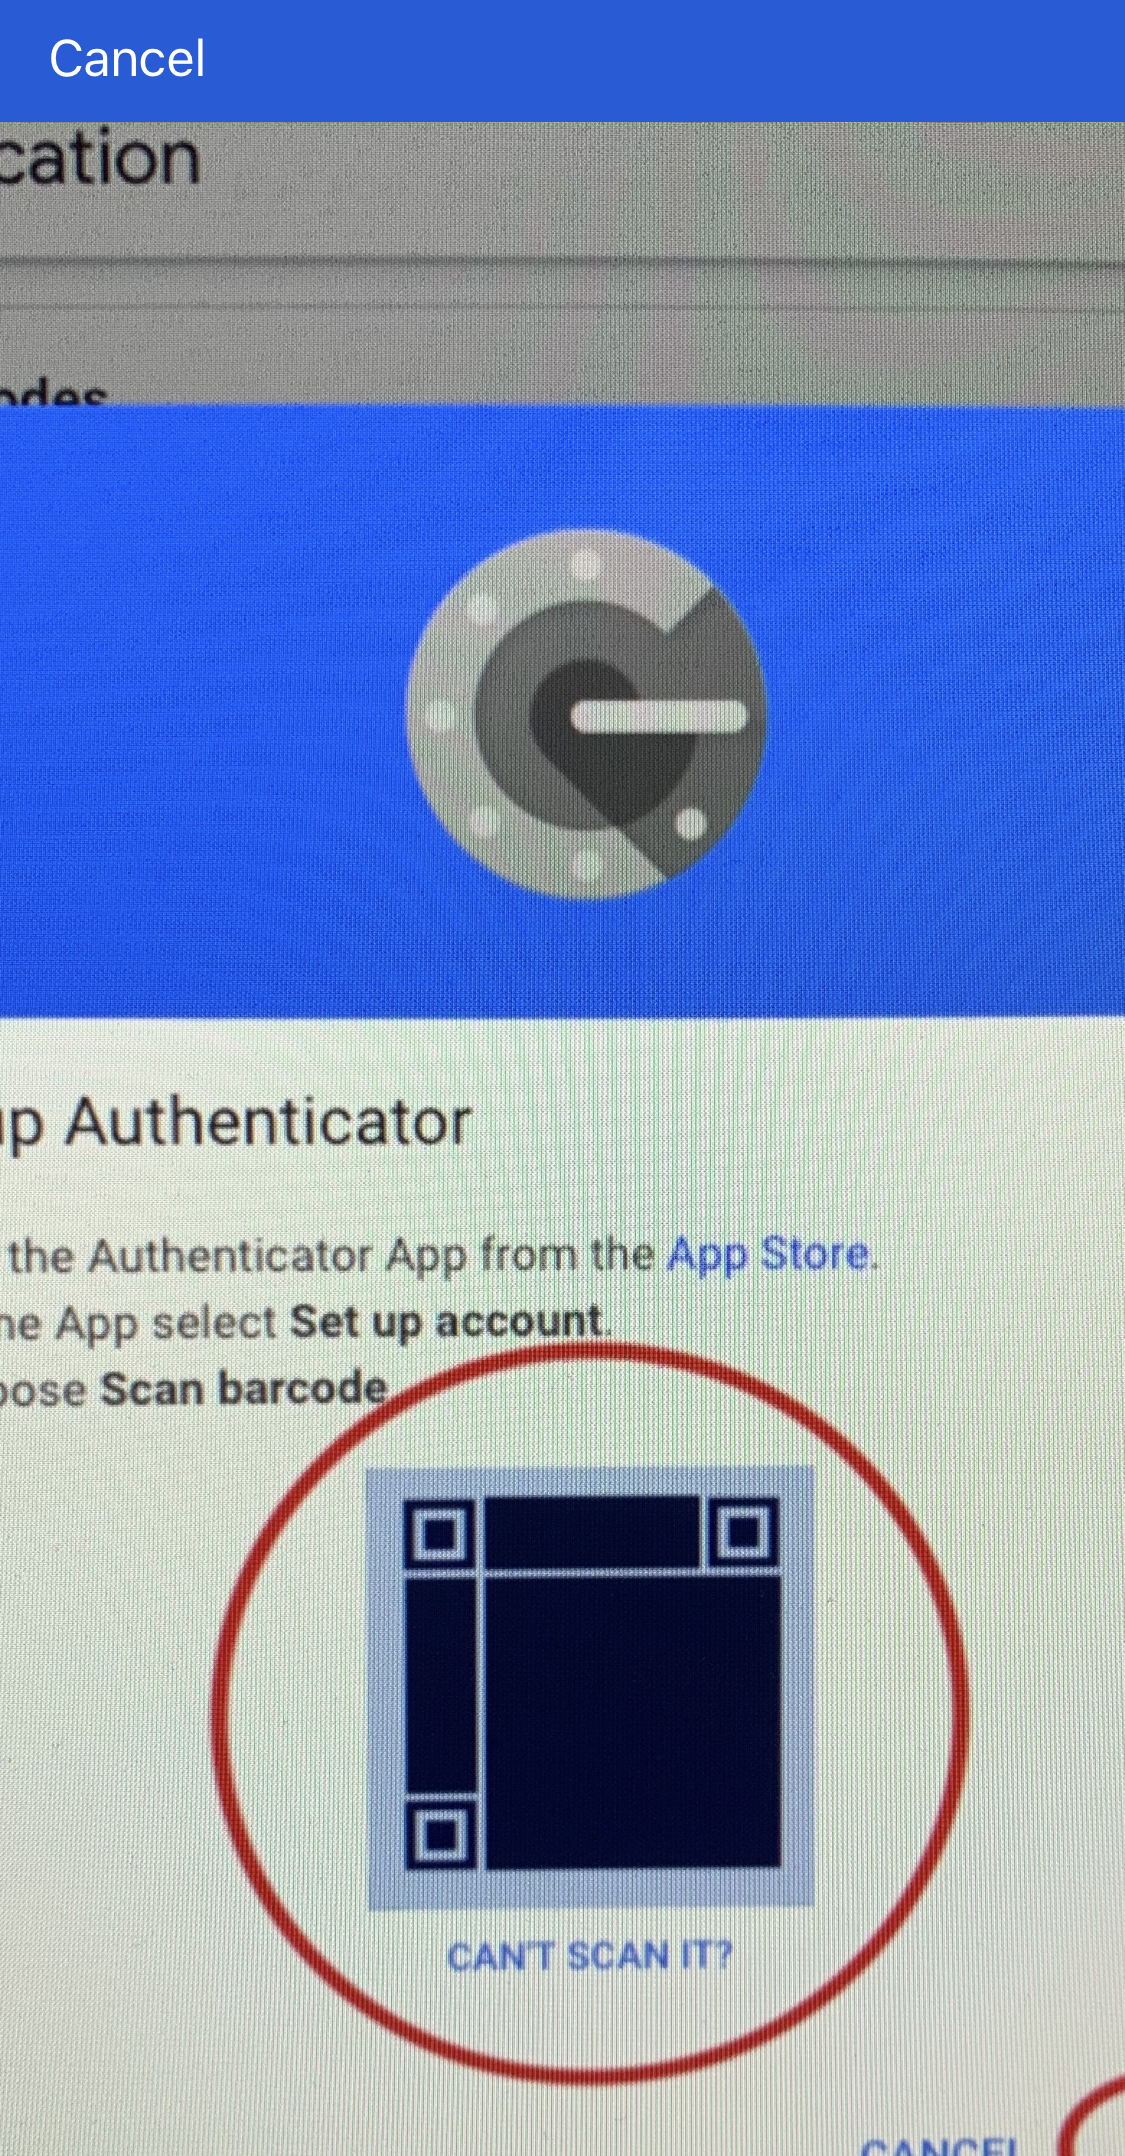 |
 |
Step 9. Find and Open the new Google 2-Factor entry. |
|
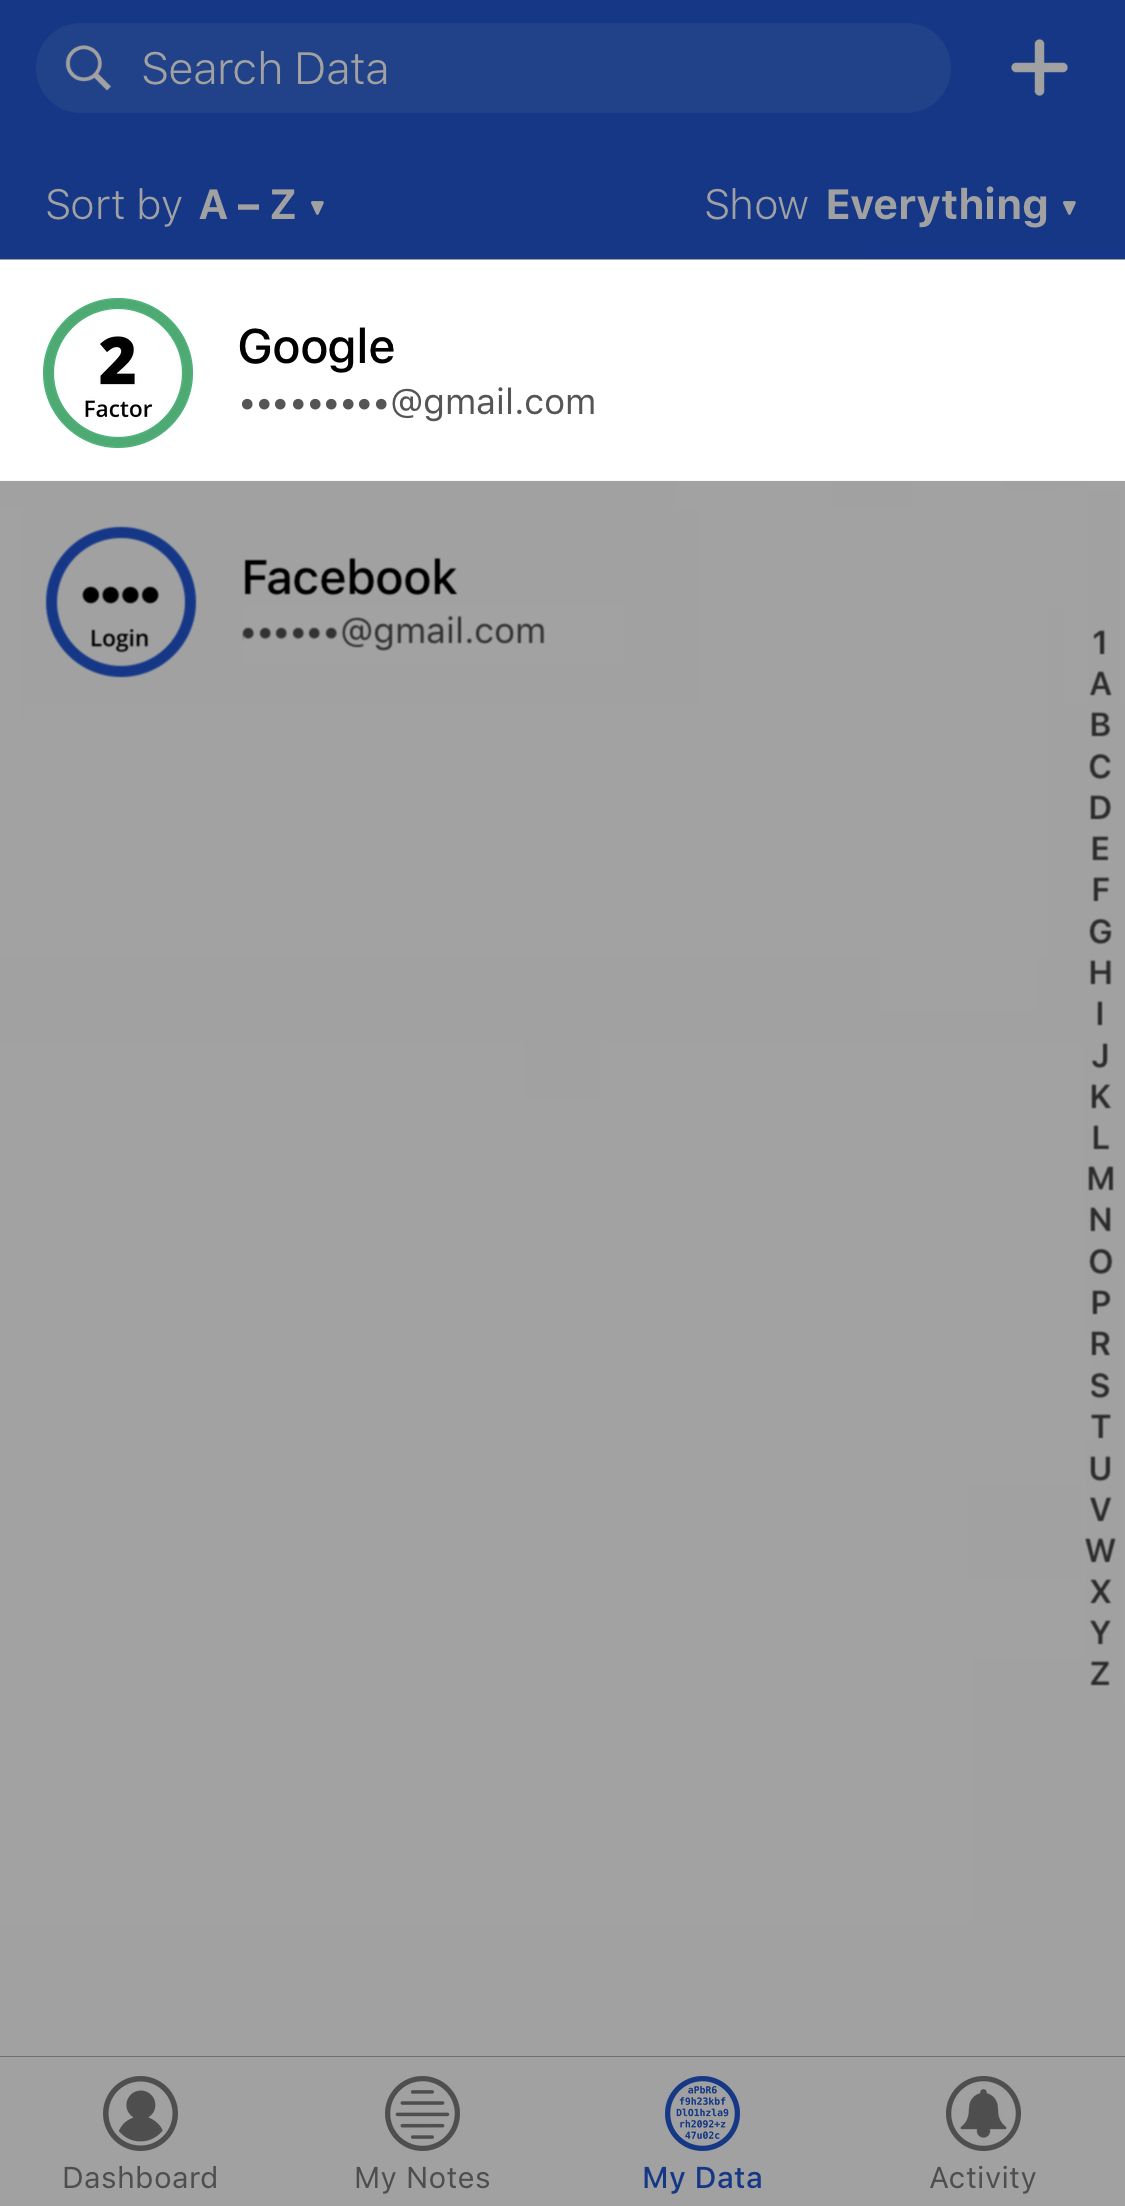 |
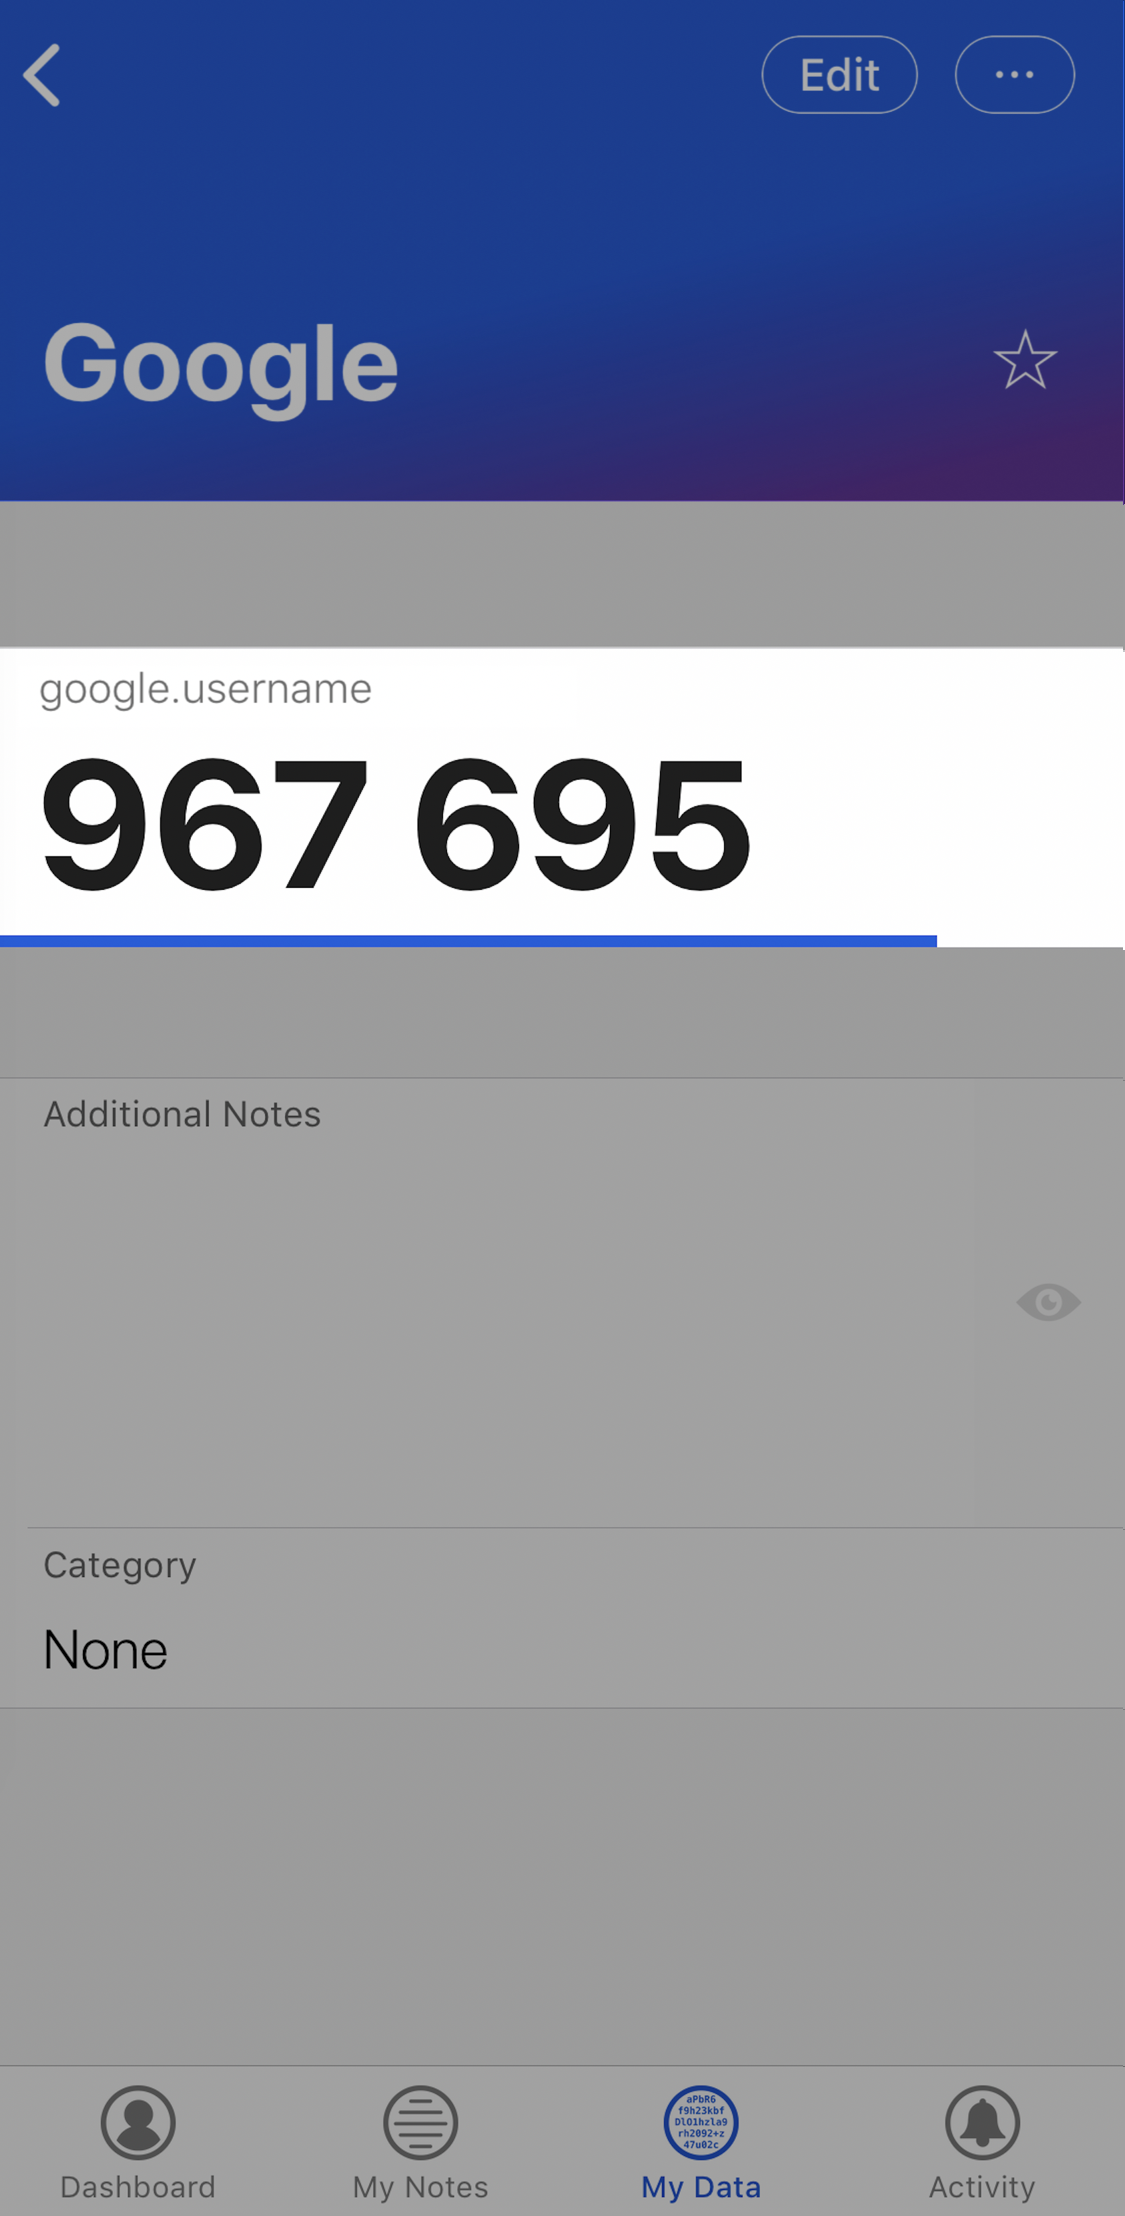 |
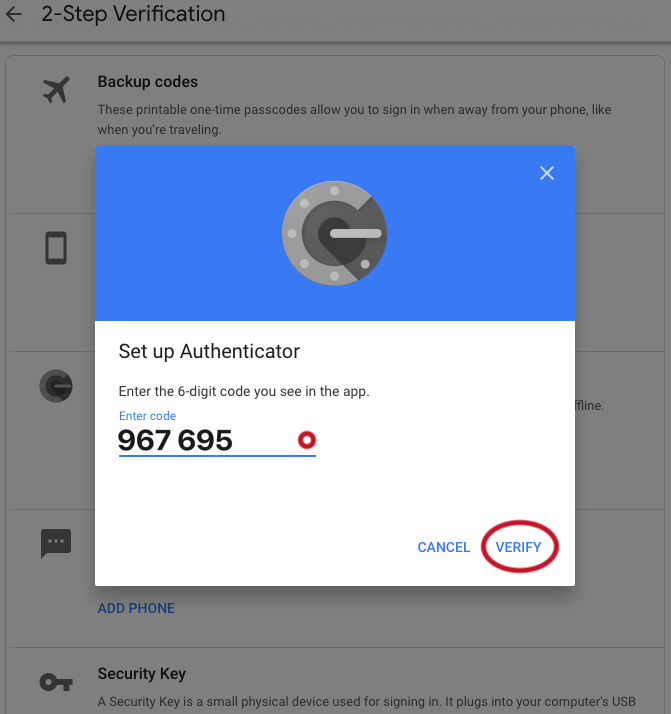
Step 10. Type in your new 2-Factor Code into the Google website to confirm it was setup correctly. |
|
 |
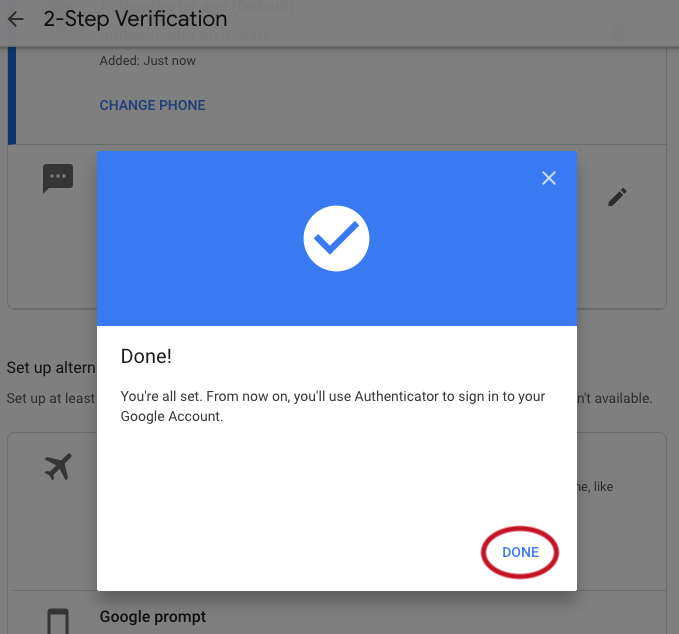 |
Congratulations!
You've setup 2FA for your Google Account, and made it more difficult for fraudsters to access your account without your permission.
The next time you Login to Google, you'll need to enter your Username, Password and the Authentication Code generated by the Future Pass app.